One catalogue, every store
Create a product once and use its name, code and details across your business. Each location keeps its own stock, sales and receiving context. Your team can recognize the same item without confusing where the stock actually sits.
Select the store before doing location-specific work. That matters whether you are receiving a delivery, serving a customer or reviewing the day's results from your phone.
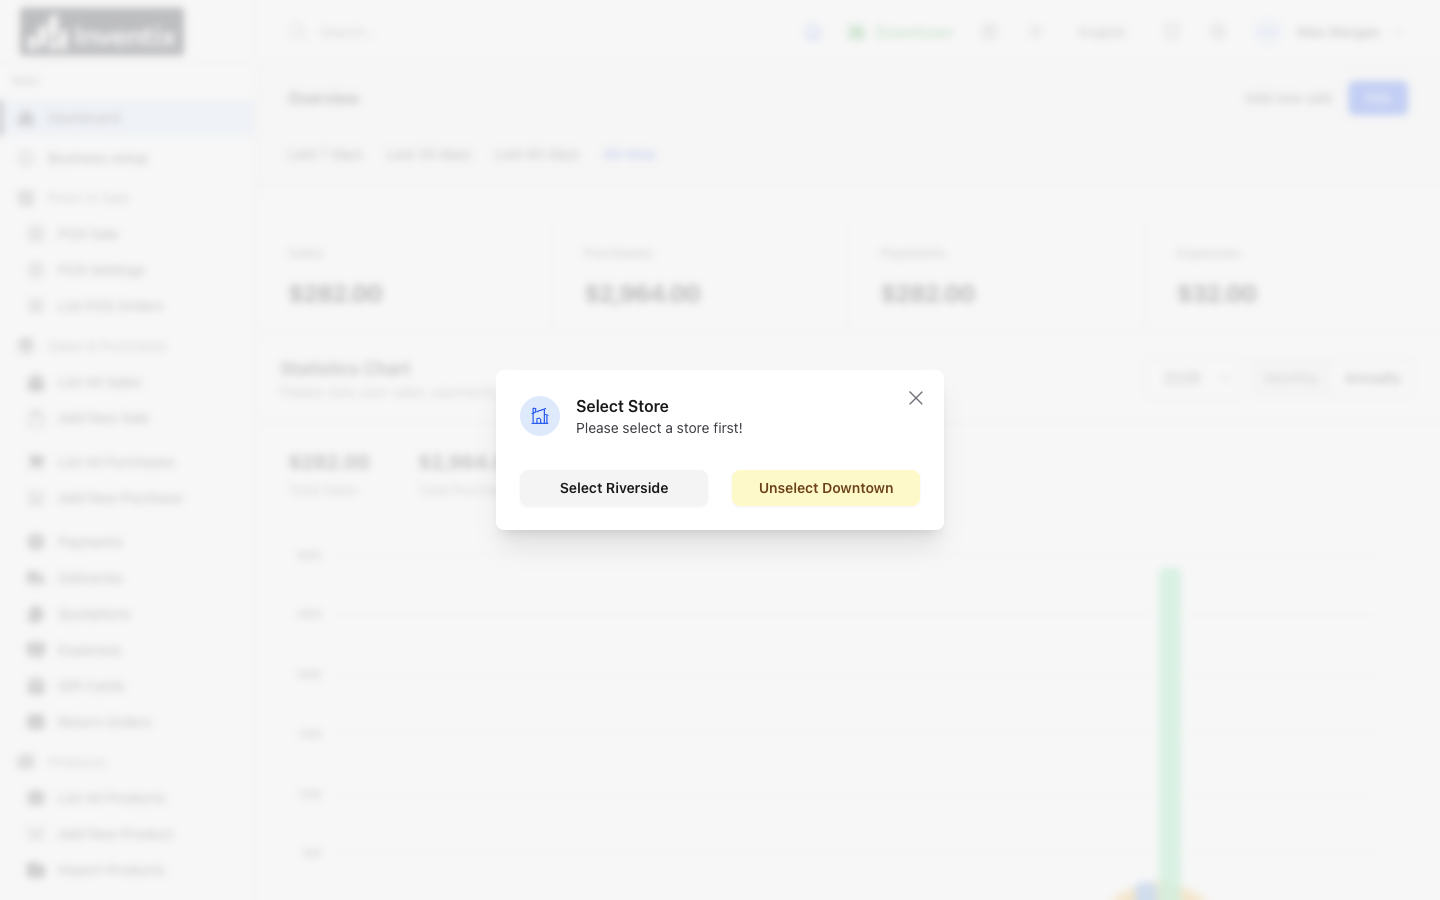
The store control lets you change the location you are viewing without moving to a separate account or catalogue.
Find stock before buying more
Downtown is running low, but Riverside may have the item. Look up the product in the relevant locations before placing another supplier order. You can answer the customer with an actual quantity rather than call every shop and wait for someone to check.
Shared product information does not make stock interchangeable without a record. When the goods physically move, record a transfer so the quantities in both stores stay meaningful.
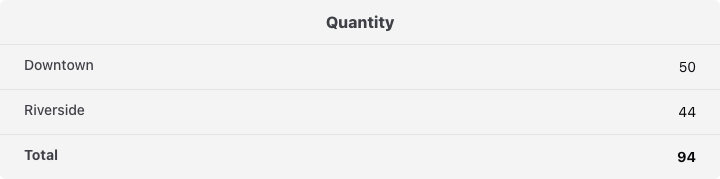
Use the location quantities, not the business-wide total, when you promise a customer an item. The saved movement above identifies Ceramic Mug and its receiving store; the product view lets you check where the remaining units are held.
Move stock with one reference
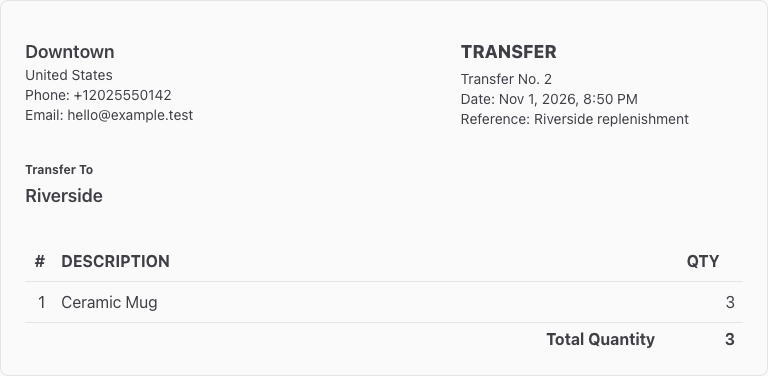
Choose a source and destination, add the items and quantities, then check the movement before saving. Use a reference both teams can recognize when packing and receiving the goods.
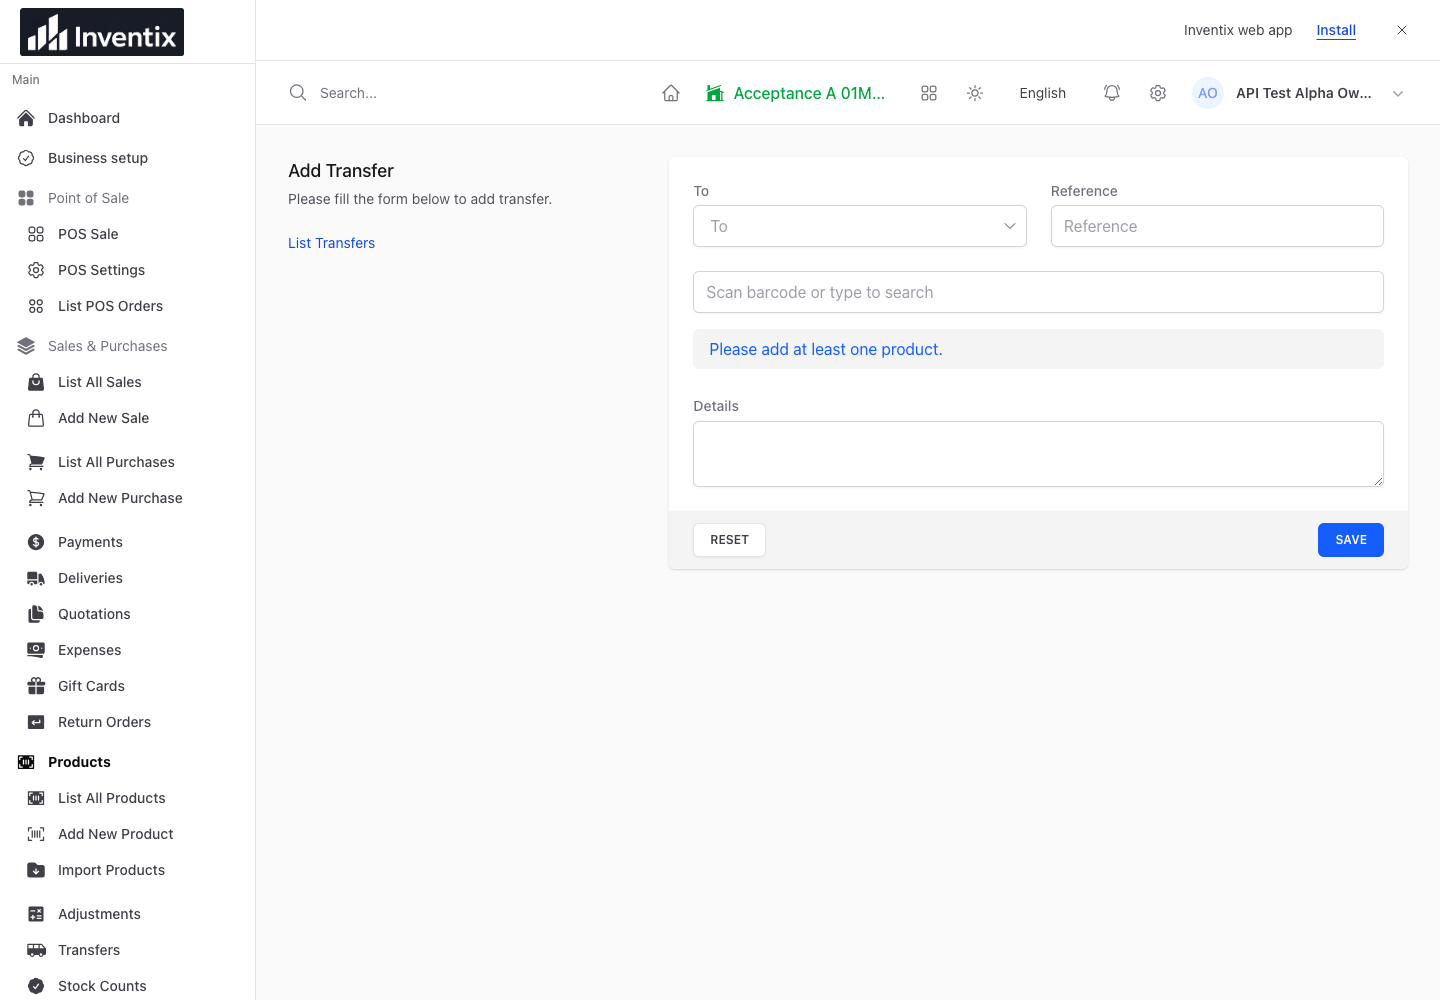
The transfer records the two ends of one stock movement. Confirm the products and physical handover with both teams.
For an illustrative transfer of three units, with no other movements:
| Location | Before | Movement | After |
|---|---|---|---|
| Downtown | 20 | -3 | 17 |
| Riverside | 7 | +3 | 10 |
| Business total | 27 | 0 | 27 |
The example explains the result; these are not claimed screenshot values. Your business still owns 27 units. A transfer changes where they are held, unlike a new supplier purchase.
Follow a transfer step by step.
Give each team the right stores
Let each person sign in with an individual account. Combine their role with allowed stores so the cashier at one shop can work without using your owner login or gaining access to every location.
When a manager takes on another store, review both permissions and store assignment. Access to checkout is different from permission to change settings, edit records or read wider reports.
Compare stores on matching dates
Review sales, received payments, purchases and expenses for the same period. Open the records behind a total before deciding why one location differs from another.
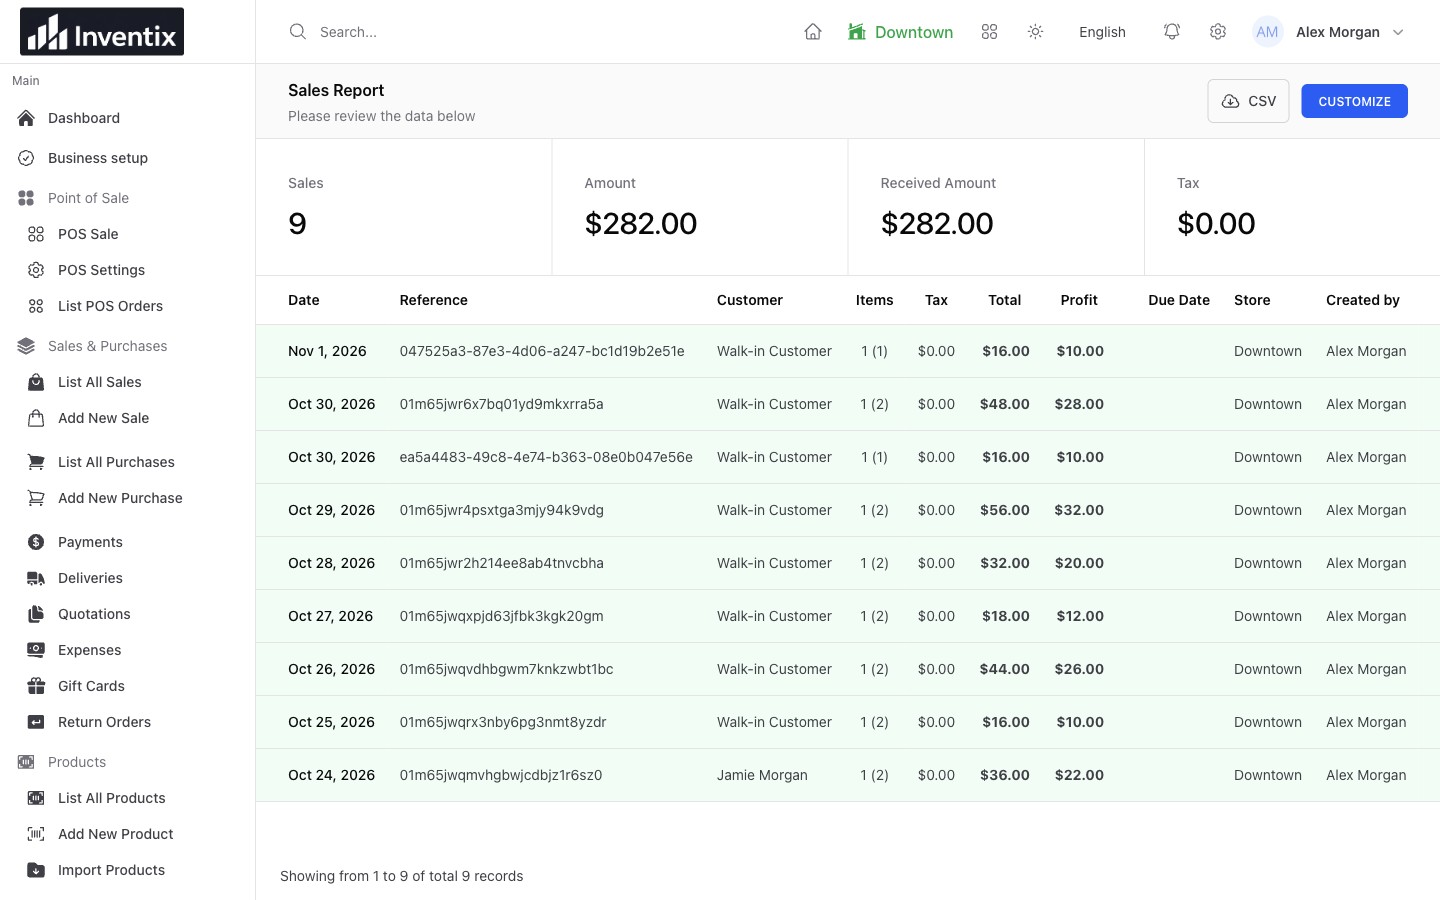
This view is filtered to Downtown. Use the same dates for Riverside before comparing sales; neither sales nor purchase totals tell you the quantity currently on a shelf.
Check current stock in the store's product records. Check money received in payments. Keeping those questions separate gives you a useful comparison, not one unexplained number.
Add a location, not a higher tier
Monthly and yearly billing include the same current capabilities, with no subscription limits on stores, products or staff. Add your next location when the business needs it, without moving to a multi-store feature tier.
Permissions, file limits and report-download limits still apply. Compare billing options.
Your multi-store questions
Is a transfer a sale between my stores?
It moves stock your business already owns. Use a sale for a customer purchase and a received purchase for goods supplied to your business; do not use them to force a transfer's stock result.
Can staff work while I check another store?
Individual accounts let your team use their permitted workflows while you review the business from another supported device. The current workspace requires an internet connection.
Connect your next store
Create the location, check its starting stock and assign its team. Follow a small transfer through both stores before moving a larger batch.
Set up your stores, read a complete multi-store example or get free setup help.